
how to use a countersink bit for screws comes down to three things you can control: the right bit, the right depth, and a steady, repeatable process.
If your screws keep sitting proud, chewing up the surface, or cracking hardwood, it usually is not “bad screws” so much as mismatched pilot holes and inconsistent countersink depth. The good news, this is one of those shop skills that gets dramatically better with a couple of quick checks and a simple routine.
You will also see people call every recessed screw hole a “countersink,” but there are two common shapes: a countersink (a cone for flat-head screws) and a counterbore (a flat-bottom pocket for hiding a head plus a plug). Mixing those up is a quiet way projects start looking “almost right.”
This guide keeps it practical: what the bit does, how to choose one, how to set depth fast, and what to do when the hole looks fuzzy or the screw head still refuses to sit clean.
What a countersink bit actually does (and when you need it)
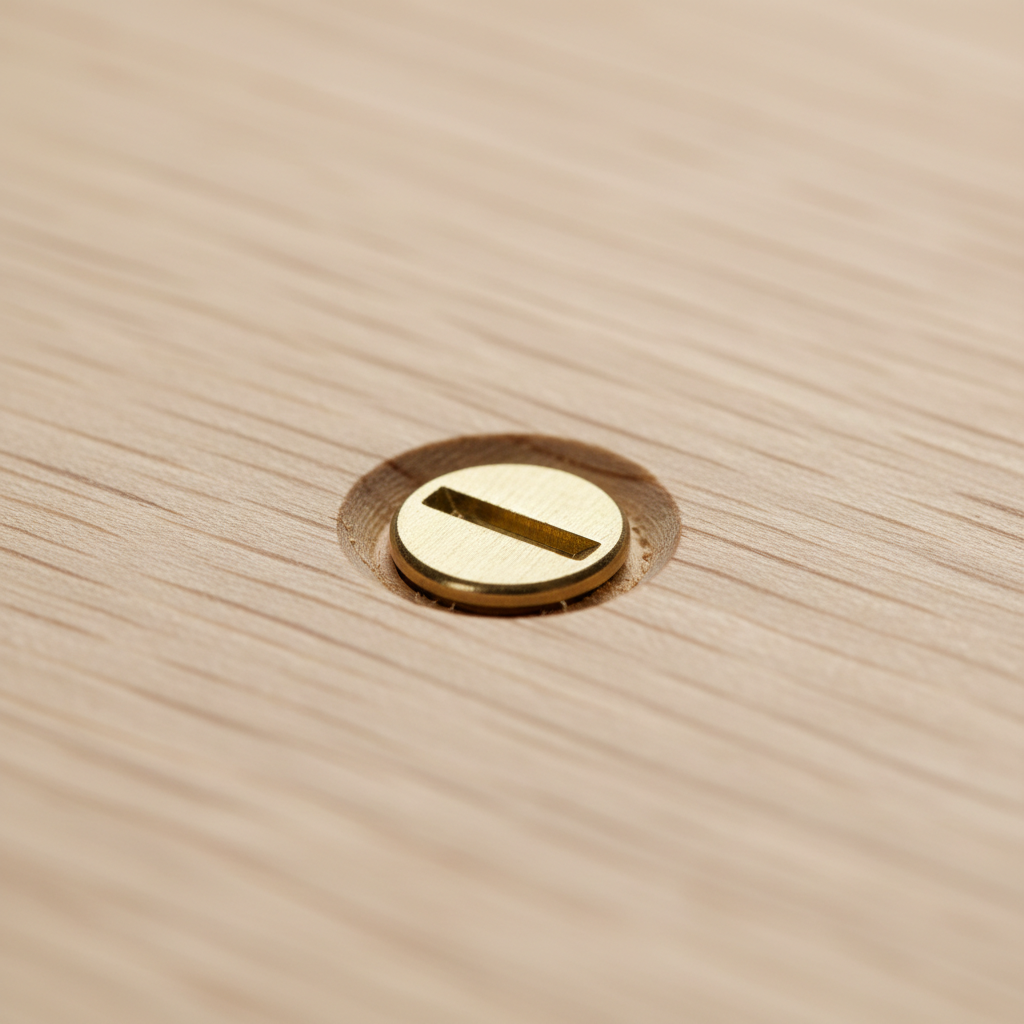
A countersink bit cuts a conical seat so a flat-head screw can sit flush with, or slightly below, the surface. That matters for tabletops, cabinet faces, jigs, and anything that gets sanded or touched often.
You typically need a countersink when:
- You are using flat-head wood screws (most common case).
- You want the head flush for a clean look or to avoid snagging.
- You plan to fill or plug the hole for a finished surface.
You might skip it when you are using pan-head, washer-head, pocket-hole screws, or when hardware design expects the head to stay proud. If the screw head has a flat underside, a countersink is usually the wrong move.
Choosing the right countersink bit for your screws
The “right” countersink bit is less about brand and more about matching the screw head angle and getting chips out without burning the wood.
Match the screw head angle (the detail most people miss)
Many wood screws are close to an 82° countersink angle in the US, while some machine screws are often 90°. In real life, packaging does not always tell you clearly, and screw styles vary. If you can, test-fit a screw head into a sample countersink: it should contact evenly, not just at the rim.
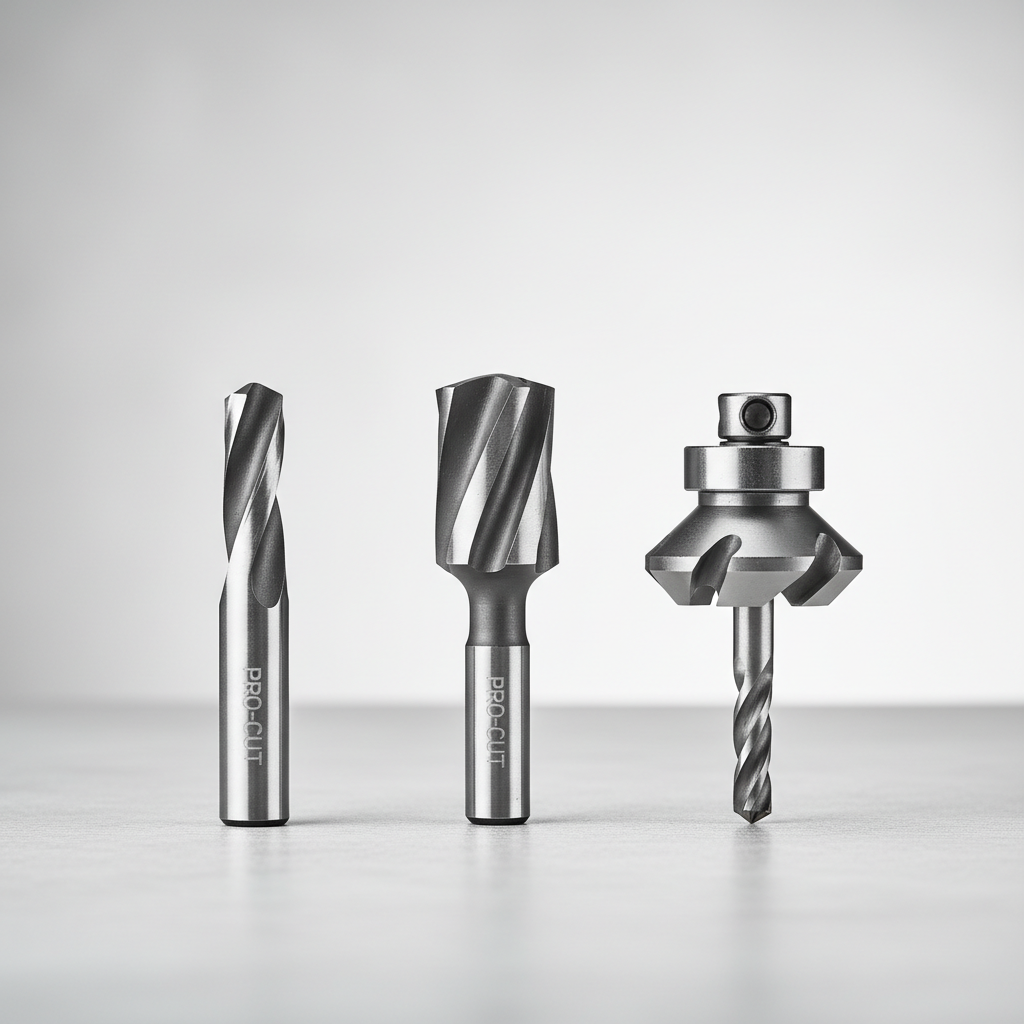
Pick a style that fits your workflow
- Single-flute / zero-flute countersink: tends to chatter less in many woods, good for clean seats.
- Multi-flute countersink: can cut fast, but may chatter if you push too hard.
- Combined pilot + countersink: convenient for repetitive work, especially in softwood, but needs occasional depth readjustment.
- Adjustable stop-collar styles: helpful when you need the same depth across a batch.
Quick compatibility table
| Scenario | What usually works | What to watch |
|---|---|---|
| Softwood (pine, SPF), general DIY | Combo pilot + countersink | Depth can drift if the set screw loosens |
| Hardwood (oak, maple) | Separate pilot drill + single-flute countersink | Heat/burn marks if speed is too high |
| Plywood/veneered panels | Sharp countersink, light pressure | Tear-out around the rim, chip-out in veneer |
| Finish carpentry look (holes to fill) | Consistent depth with stop collar | Over-countersinking makes filler more obvious |
A fast self-check: are you using the right holes and depth?
Before you drill another dozen holes, do a 60-second check. It prevents most “why does this look messy?” moments.
- Screw head type: flat-head needs a conical seat, pan-head usually does not.
- Pilot hole: screw shank should slide in the top piece, and the threads should bite the bottom piece.
- Depth target: for a flush finish, cut until the head sits even with the surface under light finger pressure.
- Surface quality: if you see fuzzy fibers or a ragged rim, the bit may be dull or you are pushing too hard.
- Test piece: same wood species and thickness as the project, always worth it.
If you are unsure about pilot sizing, According to the American Wood Council, predrilling pilot holes can reduce splitting and improve fastening performance, especially near board ends and in denser species.
Step-by-step: how to use a countersink bit for screws (clean and repeatable)
how to use a countersink bit for screws is easiest when you treat it as two operations: drill the correct pilot, then cut the seat to a controlled depth.
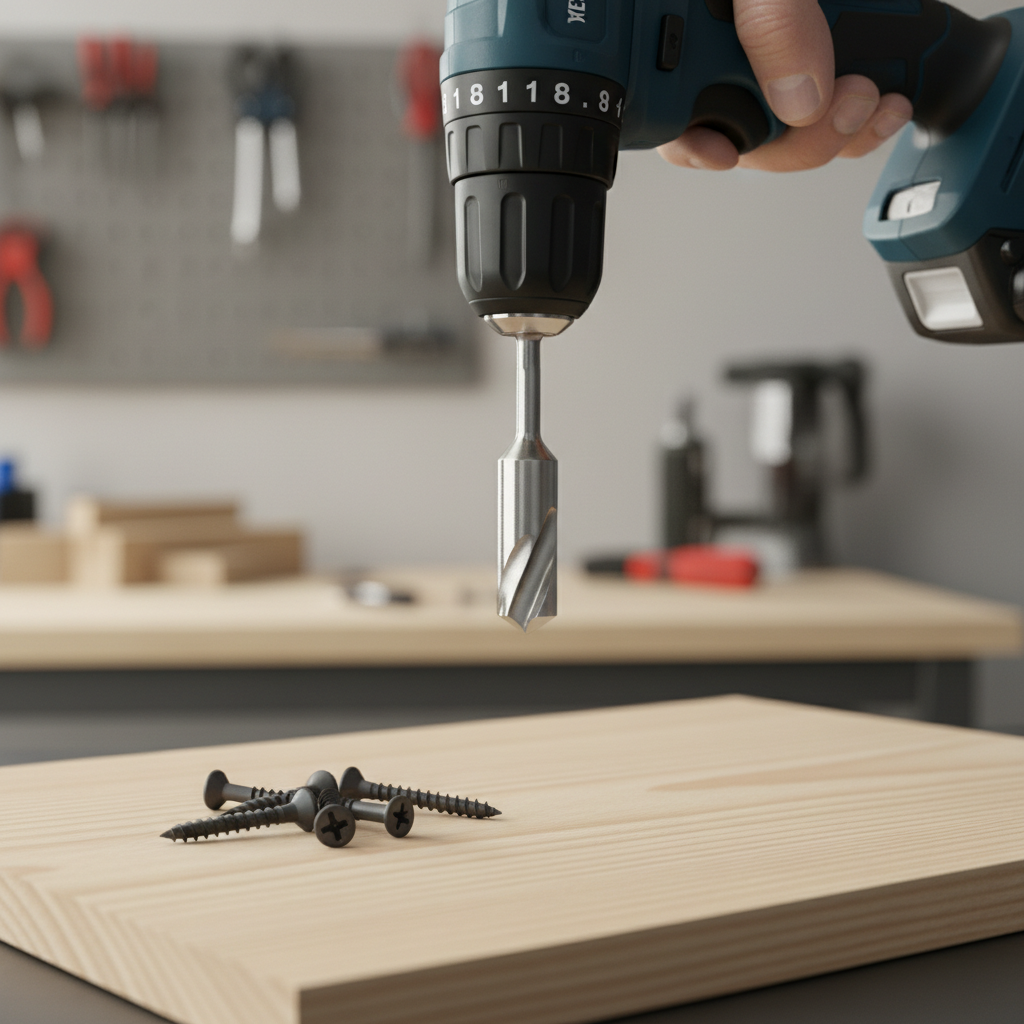
1) Mark and support the work
Mark your screw locations, then back up the piece if you are drilling through to avoid blowout. Clamp if the work can shift; a countersink loves to “grab” and wander when the board moves.
2) Drill the pilot hole (don’t skip this in hardwood)
For wood-to-wood joints, a common approach is a clearance hole through the top piece and a smaller pilot into the receiving piece, so the screw pulls boards together instead of jacking them apart. If you are doing simple face fastening in one board, at least pilot for the root diameter in hardwood.
3) Cut the countersink seat in short pulses
Place the countersink in the pilot hole, start the drill square to the surface, then cut in short, controlled bursts. Check depth often. Many ugly holes come from trying to do it in one long push.
4) Test-fit a screw and adjust
Drive a screw by hand or at low clutch setting. The head should sit flush without crushing the surface. If it sits proud, deepen slightly. If it disappears too far, you can still salvage it, but it takes extra steps.
5) Repeat with a depth “habit”
Once depth looks right, keep your process identical: same drill speed, similar pressure, same number of pulses. Consistency matters more than perfection on the first hole.
Practical settings: speed, pressure, and depth control
Most countersink problems show up because of speed and pressure. Too fast can burn or chatter; too slow with heavy pressure can tear fibers.
- Speed: many people get cleaner results at a moderate drill speed, especially in hardwood. If you smell burning, back off and reduce speed.
- Pressure: let the cutter slice, not smash. If the drill flexes, you are pushing too hard.
- Depth control: stop collars help, but even without one, you can use painter’s tape on the bit as a visual depth flag.
- Keep the tool square: a slight angle makes an oval seat, and the screw head will “half-seat” and look wrong.
Key takeaway: if you want predictable flush heads, use a test piece and set your depth before you touch the actual work.
Common mistakes (and quick fixes that actually work)
This is where most DIYers lose time, not in drilling but in fixing holes that look rough or don’t hold.
- Chatter marks around the rim: lighten pressure, try shorter bursts, or switch to a single-flute style. Dull bits exaggerate chatter.
- Tear-out in plywood veneer: score the spot with a sharp knife, use very light cuts, and consider a scrap “sacrificial” top layer when drilling.
- Screw head still sits proud: the countersink angle may not match, or the seat is not deep enough. Confirm the screw is flat-head and test a different countersink.
- Hole too deep: you can often recover by using a slightly larger flat-head screw, adding a finishing washer, or filling and re-drilling after cure time.
- Wood splits near ends: pilot hole likely too small, or you are too close to the edge. In many cases, moving the screw inboard and predrilling solves it.
Also worth saying out loud: if your driver bit keeps camming out and chewing heads, the issue might be drive style and technique, not the countersink. Use the correct bit (Phillips vs square vs Torx) and keep steady pressure while driving.
Safety notes and when to ask for help
Countersinking looks harmless, but bits can catch and spin the workpiece. Wear eye protection, clamp small parts, and keep fingers away from the cutting area. If you are drilling into unknown materials, old paint, or coated surfaces, dust control may matter; According to OSHA, controlling airborne dust is a basic jobsite safety practice, and you may want to follow similar precautions in a home shop.
If you are working on structural connections, exterior decks, or load-bearing assemblies, it can be smart to consult a qualified contractor or engineer. Fastener choice and installation details vary, and “flush and pretty” is not always the same as “correct for the load.”
Wrap-up: the simple routine that makes countersinking look pro
how to use a countersink bit for screws becomes predictable when you stop chasing perfection hole-by-hole and instead lock in a routine: pilot first, countersink in short pulses, test-fit once, then repeat with the same speed and pressure.
If you want one action step today, cut a few test holes in scrap from your project wood and dial in depth before you drill the real piece, it saves more time than any “premium” bit purchase.
If you are still getting chatter or inconsistent seating after that, consider upgrading to a sharper single-flute countersink or using a stop collar for repeatability, those two changes usually show up immediately in the finish.